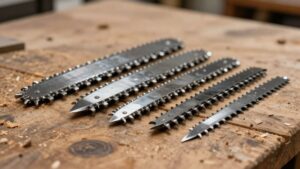
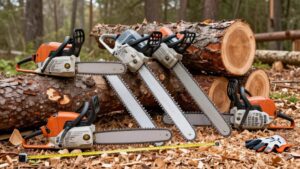
How to Dress a Chainsaw Bar: Filing Rails Flat and Removing Burrs
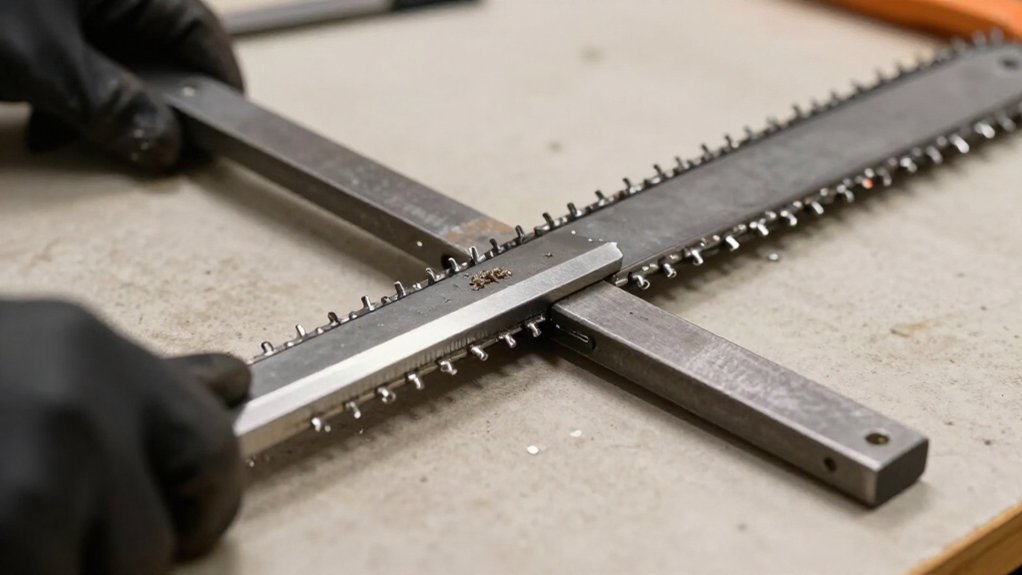
To dress a chainsaw bar, shut off the saw, disconnect its power source, and remove the bar and chain. Inspect for cracks, severe wear, bends, and loose groove fit; replace damaged bars.
Clamp the bar without pinching its rails.
Wearing eye protection, draw-file only high spots and sharp burrs with a fine-tooth flat file, keeping it square.
Brush away filings, clear the oil hole, and check nose sprocket rotation. Lubricate before reassembly; checks follow.
Bar Rail Wear Signs
Inspect the rail tops closely, especially behind the bar nose, where limbing often causes the most wear. Look for chipped edges, sharp, wire-like burrs, and rail heights that differ. These defects can prevent the chain from sitting square and affect tracking.
To assess the groove, place a straightedge across the rails. Properly shaped rails keep it clear of the bar body; worn rails may leave the groove loose and more V-shaped. Hold the bar level and sight along the rails from either end. Watch for sweeps or bends, then inspect any bend for cracks. Don’t try to straighten a bar with cracked rails: cracks mean the bar is ruined. Replace it before returning the saw to service, and verify the replacement fits your saw.
Bar-Dressing Tool Safety
After identifying rail wear, secure the guide bar in a vise before dressing it. A stable clamp prevents movement; keep your fine-tooth flat file square to the rails and remove only sharp, wire-like burrs. Don’t lower the rails unnecessarily, because excess material can shorten bar life.
Inspect the file for a sound handle and clean teeth; a damaged tool can catch or slip. Support the bar so it cannot rock, and file with even, light passes. Stop if the bar shifts, the file binds, or you find visible cracks.
- Wear eye protection and keep hands clear of the file’s cutting path. Use controlled strokes; don’t force a file or let it slip.
- Keep filing and sanding debris out of the groove, oil hole, and nose bearing. Steel chips and grit can damage these surfaces.
- Before use, clear chips, confirm the oil hole is open, and check that the chain passes freely without binding.
Don’t straighten cracked rails; replace that bar. Twisted or badly bent bars are also likely replacement candidates.
Step 1: Remove the Guide Bar First
Before dressing the rails, remove the guide bar from the saw so you can inspect and work on it safely. First, shut off the saw and disable its power source; for a gas saw, disconnect the spark plug lead. Loosen chain tension, remove the side cover, then lift off the chain and bar, following your model’s procedure. Keep the chain clear of the work area.
Wipe debris from the bar and clear chips from its groove before you inspect it. Check both rails for uneven wear, bends, cracks, or pinching. Confirm the oil hole remains open and the groove is unobstructed before refitting the bar. If you find cracked rails or a twisted bar, replace it; don’t try to straighten or dress it.
Step 2: Clamp Bar in Vise
Clamp the clean, removed bar securely in a vise, supporting it without squeezing or pinching the rails. Position the bar so the section you’ll work on is accessible and stable, with rails clear of vise jaws. Use padded jaws or blocks if needed to prevent marks, but don’t let padding allow the bar to shift. Tighten the vise only enough to hold the bar firmly; excess pressure can distort the rails and affect chain fit.
Before dressing, check the bar for cracks or severe bends. Don’t proceed if you find structural damage; replace the bar or have it assessed. Keep your hands clear of sharp edges, and confirm the bar can’t rock or slip under pressure. A steady setup helps control the file safely.
Step 3: File High Rail Spots
With the bar held securely in the vise, use a quality, fine-tooth flat or mill file to draw-file high spots along the rails. Keep the file square to the bar as you level the rail tops; a few controlled strokes may correct minor unevenness. Avoid forceful strokes; they can lower rails unevenly or remove excess material.
After each pass, check both rails with a straightedge or small set square. Compare rail height and flatness; confirm the chain sits evenly. Clean filings without pushing debris into the groove or nose bearing.
Stop if inspection reveals cracked rails or severe wear. Filing can’t restore a damaged bar to safe condition; replace it instead. Wear eye protection, and keep your hands clear of the file’s path.
Step 4: Draw-File Rail Edges
Secure the guide bar in a vise, then draw-file the rail tops with a quality, full-size flat mill file using steady, even strokes. Keep the file square to the bar so you preserve level rail tops and 90-degree sides. Minor wear may need only a few passes. Don’t force the file; keep your hands clear of its teeth.
To remove sharp, wire-like burrs along the outer edges, switch to a fine-tooth flat file. Guide it without forcing filings into the groove or bar nose.
Check the edges with a straightedge or mini set square, then sight along the rails for unevenness or bends. Before refitting the chain, clear chips and filings from the groove and oil hole, then confirm the chain passes freely.
Step 5: Measure Rail Height
To measure rail height, lay a straightedge across both rails and check whether either rail sits lower than the other; worn rails may let the straightedge sit closer to the bar body. Before checking, shut off the saw, let it cool, and remove the bar; wear eye protection. Secure the bar against movement.
Check the rail tops, especially behind the nose, where limbing often causes the most wear. Use a mini set square to confirm each rail side meets the top at about 90 degrees. Sight down the bar from either end at eye level; a bend can misalign the rails and distort your comparison. If rail heights differ, use a suitable bar-dressing tool to level them, removing only enough material to restore even rails.
Step 6: Brush Away Filing Dust
After removing burrs or leveling the rails, brush filing dust and metal particles off the bar. Wear eye protection and use a stiff, clean brush, working away from your face. Keep grit from entering the groove, oil hole, and bar nose; debris in these areas can restrict lubrication or damage the nose bearing. Don’t blow dust toward the groove or tip if you use a sander; direct it away from the bar.
For cleaning, remove the chain and clear chips from between the rails before inspecting the bar. You can wash the bar with soapy water, but dry it completely before continuing to prevent corrosion. Brush residue from both rails and around the oil opening, then dispose of filings safely.
Verify Nose Sprocket Spins Freely
With the chain removed, turn the nose sprocket by hand and confirm it spins freely without binding or catching. Clean chips and debris from around the nose and bar groove; packed material can hold the sprocket and prevent smooth rotation. Keep filing dust, sanding residue, and metal particles away from the nose bearing, since abrasive grit can damage it.
As you rotate the sprocket, inspect it for visible damage and feel for unusual roughness, stiffness, or intermittent catches. Don’t force a reluctant sprocket or treat resistance as normal. Remove debris carefully without driving grit into the bearing. If the sprocket still won’t spin freely after cleaning, don’t run the saw. Have the bar inspected by a qualified service professional, or replace it before use.
Chain Pulls to One Side
If the chain pulls to one side, suspect unevenly sharpened cutters first; a bar problem is less common. Stop the engine and secure the saw before inspection. Check both rails for wear; uneven heights can keep the chain from sitting square. Sight down the bar from either end for a bend, and inspect rails for cracks. Replace a bar with cracked rails; don’t try to straighten it.
| Check | Action |
|---|---|
| Rail height | Confirm both tops are level |
| Burrs | File edges with a fine-tooth flat file |
| Groove | Check chain passes freely |
| Damage | Replace badly worn or twisted bars |
| Wear | Rotate a serviceable bar regularly |
Keep your hands clear of cutting edges, and replace a damaged bar; don’t resume cutting until the chain tracks squarely and safely again.
Lubricate Before Reassembly
Before reassembly, clear chips and filing debris from the bar groove, and make sure the oil hole is open so lubricant can reach the rails and nose.
Keep abrasive grit and metal filings out of the groove and nose bearing; either can obstruct oil flow and damage components. Apply bar-and-chain oil through the saw’s normal lubrication system, and don’t run the chain dry after dressing the rails.
With the bar clean and lubricated, refit the chain and check that it moves freely through the groove. Then set chain tension according to your saw manufacturer’s instructions for your specific saw model. Too little or too much tension can accelerate wear or damage the chain, bar, and drive components.
Conclusion
Dress the bar when rail wear, burrs, or uneven rails appear; don’t file beyond the manufacturer’s limits. Before reassembly, clear filing dust, confirm the nose sprocket spins freely, and lubricate the bar and chain. Refit the bar and chain correctly, then check tension and oiling before use.
Keep the chain brake engaged while handling the saw, and wear eye and hand protection. If the rails remain uneven or damaged, replace the bar rather than risk unsafe operation.
Chainsaw Bar, Chain & Sprocket Fitment Chart
Look up bar lengths, chain pitch, gauge, drive links and sprocket for listed Husqvarna and STIHL saws, or find saws by pitch and gauge.