How to Count Drive Links on a Chainsaw Chain Without Mistakes
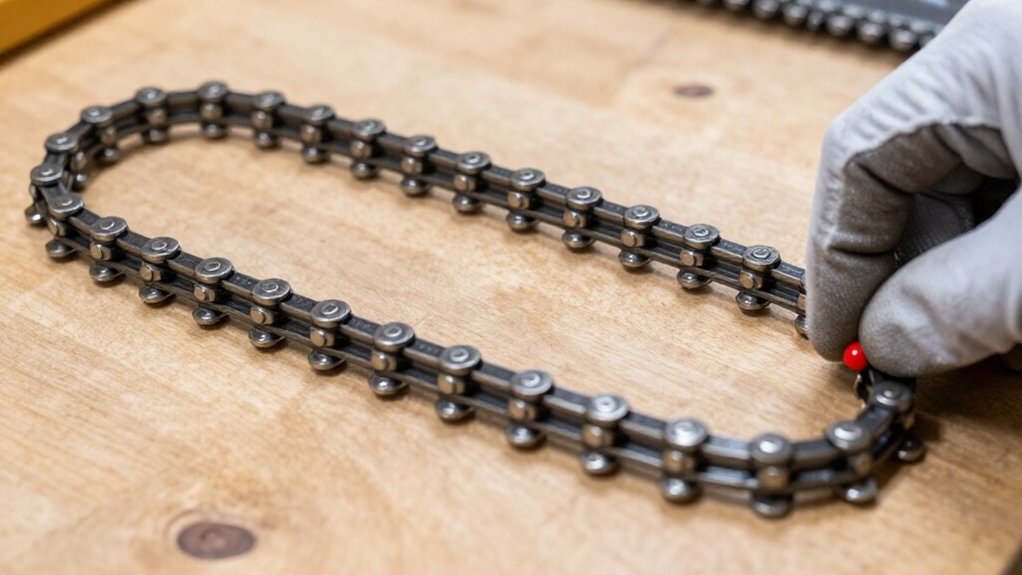
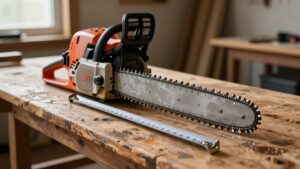
Switch off the saw and remove its battery or spark-plug lead before handling the chain. Wear cut-resistant gloves, wipe oil from a bench, and lay the chain flat.
Mark one underside tang; count it as one, then follow the loop in one direction, counting each tang once, including connecting-link drive tabs. Use a counter, and don’t count teeth, plates, or rivets.
Recount from the marker, then compare the total with the bar stamping. More fit checks follow.
Quick Link-Count Accuracy Test
To verify a chainsaw chain’s link count, mark one drive link with tape, then count only the links that protrude from the chain’s underside—not the cutting teeth along the top. Keep it stationary. Start at the taped drive link and follow the chain’s path, counting each underside drive link once. Stop when you return to the marker, without counting it again.
Then repeat the full circuit from the same point. Matching totals confirm that you’ve counted every link exactly once. If the totals differ, restart slowly and check each link’s position rather than estimating. Finally, compare your result with the guide-bar stamp or the chain length specified for your saw. Pitch and gauge identify chain dimensions, but they don’t establish the required drive-link count.
Chain Off the Saw
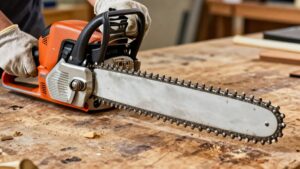
With the chain off the saw, wear cut-resistant gloves and lay it flat to count its drive links. Identify the small teeth projecting from the chain’s underside; these engage the guide-bar groove. Keep the chain stable on a clean surface, and avoid handling sharp cutters while you trace the drive links.
- Follow each drive link around the entire loop, counting it once; stop after completing one circuit.
- Recount the links in the same direction. Matching totals help catch skipped or double-counted links.
- Compare your verified total with the guide bar’s specified chain length; also confirm pitch and gauge, because link count alone doesn’t guarantee fit.
If you can’t distinguish a link, inspect the underside closely; don’t force or stretch the chain during the count.
Step 1: Mark the Starting Link
Before counting, choose a drive link, the tooth-like projection on the chain’s underside, and place a small piece of tape beside it as a marker. Choose a link you can identify clearly, and keep the chain stationary while you mark it. The marker should sit beside a drive link, not a cutting tooth along the chain’s top edge.
If you use a removable marker, make a small, visible mark next to the selected link. Check the marker before starting your count. Count that marked drive link as number one, then proceed link by link around the chain in one direction. When you arrive at the marker again, stop: you’ve completed one circuit. Keep your count consistent, and don’t count the marker itself as an additional link.
Step 2: Expose the Drive-Link Tangs
First, switch off the chainsaw and remove its battery or disconnect the spark-plug lead. If you need more clearance, loosen the bar nuts and chain tensioner, then lift the chain clear of the guide bar. Keep your hands clear of sharp cutters, and support the chain as you move it.
Lay it untwisted on a clean, flat surface with its underside facing up. The drive-link tangs are the small protrusions along that underside; they sit in the guide-bar groove and engage the drive sprocket. Position the chain so each tang stands out.
For a check, distinguish those small tangs from the cutting teeth and larger side-plate rivets. Don’t count either of those features: count only the underside tangs. Keep the marked starting link visible.
Step 3: Use a Tally Counter
Place the chain on a stable surface with its underside drive links visible, and mark one link as your starting point. Set a hand tally counter to zero before you begin. Hold the chain still and advance the counter once for each underside drive link as you follow the loop. Keep your attention on the drive links, not the top cutting teeth.
At the chain joint, avoid registering the starting link again; continue until you return to your mark, then stop. Compare the counter’s total with the required drive-link count stamped on the guide bar or listed in the saw’s manual. If you lose your place, don’t estimate or continue from memory. Reset the counter to zero and restart safely from the marked link.
Step 4: Count Each Tang Once
Count only the small metal drive-link tangs on the chain’s underside, not the cutting teeth. With the saw switched off and the chain stationary, choose one drive link as your starting point. Mark it with tape; keep the tape clear of sharp cutters and moving parts. Lay the chain out so you can see its path, then follow it in one direction.
Count each tang once as it passes your marker. After each section, move the marker or record a tally, keeping counted links separate from those still ahead. Don’t reverse direction or count the same section twice. Continue around the chain until you reach the marked link again. Your total is the drive-link count you need to match the guide bar.
Step 5: Account for Connecting Links
Even where chain sections join, count every underside drive-link tab, including the tab attached to a connecting link.
A connecting link joins two chain sections, but its underside tab remains a drive link and belongs in your total. Don’t treat the connector as an exception. Mark your starting drive link with tape, then move around the entire loop and count each underside tab once.
At the connecting link, count only its drive-link tab; don’t count its side plates or rivets. Keep your count focused on the protruding tabs beneath the chain, not on visible joining hardware. After completing the circuit, recount from your marker to confirm the total before ordering a replacement chain. With the saw off and secured, you can inspect the loop safely.
Step 6: Wipe Oil From Bench
Wipe excess bar oil from the bench with a clean rag before laying out the chain; this keeps it from sliding and prevents grit from sticking to the chain. Wipe the full area where you’ll lay out the chain. Keep the chain itself clear of grit; don’t drag it across dirty or oily spots.
Once the bench is completely dry, place the chain flat without twisting it. Mark the first underside drive link with a small piece of tape so you have a clear start. Follow the chain around, counting each underside drive link once. When you return to the marked link, stop and confirm the total. If oil makes the chain shift, lift it carefully, wipe the bench again, and restart from the mark.
Compare Against Bar Stamping
With the chain laid flat and its drive links counted, check the guide-bar stamping for the required link count, usually listed with the pitch and gauge. Read the stamping carefully; identify the drive-link number, not the pitch or gauge. Mark one underside drive link with tape, then count around the entire loop, counting the marked link once. Keep the chain still and your fingers clear of sharp cutters; don’t handle it while the saw can start.
Compare your total with the stamped count. The numbers must match. Matching pitch and gauge alone doesn’t confirm the correct chain: a wrong link count can leave it too loose to tension or too short to install. If the stamping’s unclear, check the bar’s model documentation before selecting a chain.
Chain Won’t Fit Bar Groove
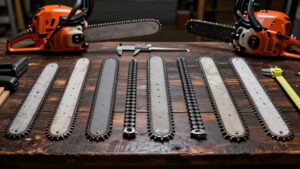
If the chain won’t sit in the bar groove, check that its drive-link gauge, the link thickness, matches the bar’s specification. A thicker link won’t enter; a thinner one can sit loosely and run improperly. Don’t mistake drive-link count for gauge: count sets chain length, while gauge controls groove fit. Check pitch against both bar and drive sprocket.
If markings remain unclear, stop and measure a drive link with a vernier caliper, then compare it with the bar’s stated gauge. Don’t force an incompatible chain onto the bar. Verify specifications before you reinstall the chain or operate the saw.
| Check | What it means |
|---|---|
| Gauge | Link thickness must match groove |
| Too thick | Won’t fit; don’t force it |
| Too thin | May sit loosely |
| Pitch | Must match bar and sprocket |
Lubricate Before Reinstallation
Before reinstalling the chain, apply the oil specified in the chainsaw manual to its drive links so they’re lubricated as they travel through the bar groove; don’t use motor oil or another lubricant unless the manufacturer approves it.
Before fitting it, inspect the bar groove and oil holes; clear any debris that could block flow. Confirm the oiler works as the manual describes, since oil must reach the chain during operation. Install the chain in the correct direction, then tension it according to the manual.
Keep the saw off while you handle the chain, and wear gloves to protect your hands from sharp cutters. Once the bar cover is secure and tension is correct, start the saw and run it briefly as directed. Check for oil delivery before cutting; stop the engine if oil isn’t reaching the chain, and correct the blockage or oiler fault first. Don’t assume a full reservoir proves oil is reaching the chain; verify delivery at the bar.
Conclusion
To count drive links accurately, remove the chain, mark your starting point, expose the tangs, and tally each link once. Keep the bench clean enough to see the marks, then compare your count with the bar stamping. If the chain won’t fit the groove, don’t force it; recheck the count, chain pitch, and gauge. Before reinstalling, lubricate the chain and follow your saw’s tensioning procedure. Keep the engine off and wear cut-resistant gloves while handling it.
Chainsaw Bar, Chain & Sprocket Fitment Chart
Look up bar lengths, chain pitch, gauge, drive links and sprocket for listed Husqvarna and STIHL saws, or find saws by pitch and gauge.
Chainsaw Chain Speed Calculator
Turn RPM, drive sprocket teeth and chain pitch into chain speed in ft/s, m/s, mph or km/h, and compare 7- vs 8-tooth sprockets.
Chainsaw File Size Finder
Pick your chain pitch or type the number stamped on your chain to see the round file size STIHL and Oregon publish for it.