How to Cut a Limb Under Tension Without Pinching or Kickback
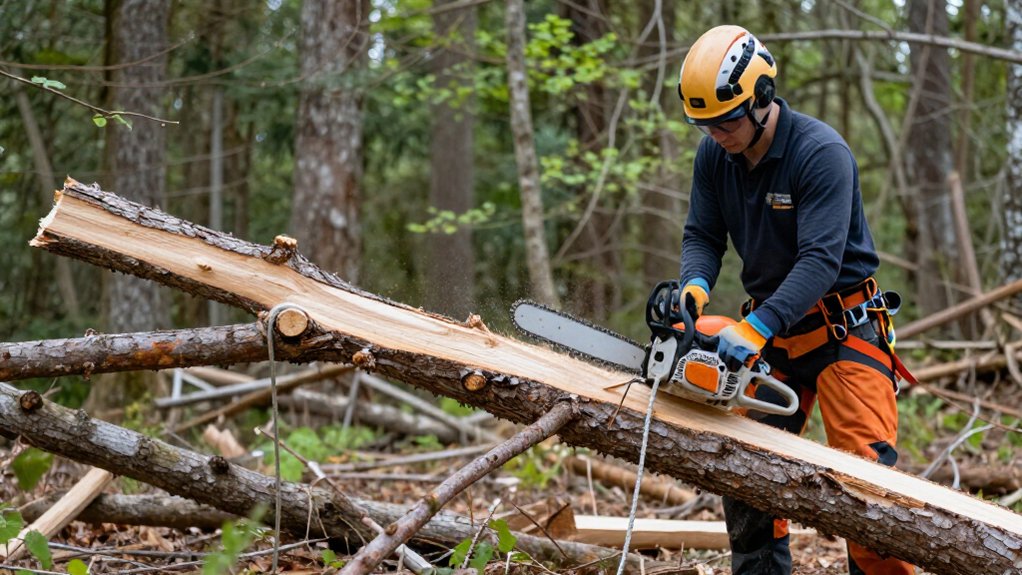
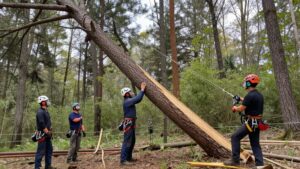
Before cutting, identify the limb’s compression and tension sides, supports, and likely springback path; loaded wood can shift or whip. Clear your escape route, use stable footing, and keep your body and bar nose outside that path.
Make small, controlled cuts while watching the kerf. Stop if it closes, fibers tear, or the limb moves unexpectedly. Don’t force a pinched bar or cut beneath unstable wood. Reassess after each cut. Further steps cover saw care.
Assess Limb Tension Direction
Before you cut, determine what supports the limb and how its weight bends it: fibers on the inside of the bend are compressed, while those on the outside are under tension. Check whether the limb hangs free, bears against the ground, or rests on multiple supports; each arrangement shifts the compression and tension zones. From a stable, safe position, identify bends, cracks, and signs of splitting. Treat underside branches as potentially loaded, and expect stored force to move the wood when fibers release.
Don’t begin until you’ve judged how the limb may spring or rotate under changing load. Reassess its position and stress after each cut, because releasing one section can transfer weight and alter the remaining limb’s bend. Stay clear of likely movement.
Inspect the Escape Path
Once you’ve assessed the limb’s tension, identify where it could spring, roll, or fall as the cut releases its load. Check the ground and surrounding area for obstacles before you start. Keep your escape route clear and choose footing that won’t force you to cross the limb’s likely movement path.
- On a slope, work uphill of the limb when possible so it can’t roll toward you.
- Stay clear of suspended or broken sections; never stand beneath a hanging limb or tree top.
- Select a route to stable ground that remains open as you work.
As each cut changes the load, reassess the limb’s movement and your route before proceeding. Don’t assume its path will stay fixed: wood can shift suddenly when tension releases.
Step 1: Clear the Springback Zone
As you assess the limb, identify its bend and mark the area it could spring or whip into when tension releases. Keep your body, head, and guide-bar nose outside this path; a moving limb can strike you or trigger kickback. Choose footing beyond the limb’s movement zone, and never stand beneath suspended or broken sections. Before cutting, assess whether you can remain clear as the limb shifts.
Release tension gradually with small, controlled cuts, watching movement. Stop once tension releases; don’t continue cutting after the limb settles. Keep your escape route open so you can move away without crossing the springback path. If you can’t predict the limb’s movement or maintain a position outside its zone, stop and get help from an experienced professional.
Step 2: Position Saw on Pressure Side
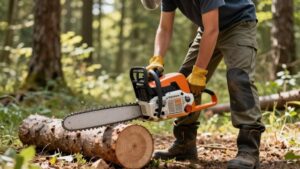
With the limb’s bend identified, place the first cut on the inside of the arc, where the wood is compressed. Position yourself carefully so you can control the saw. For moderate tension, make an open directional notch about one-third of the limb’s thickness on this pressure side.
Under high tension, use a wider-opening notch and advance with small, controlled cuts rather than cutting through at once. Keep your body and the saw on the inside of the arc as pressure changes. Track the guide-bar nose continuously and keep its path clear of the limb to limit kickback risk. Stop as soon as tension releases. Before each cut, confirm the saw’s position and intended direction; poor placement can split the limb or pinch the bar.
Step 3: Make a Shallow Relief Cut
After positioning the saw on the pressure side, make a small, controlled relief cut on the tension side to begin releasing stored force gradually.
Before cutting, identify the limb’s supports and determine which side is compressed and which is stretched. The kerf tends to close on the compression side and open on the tension side. Use this assessment to choose a shallow cut that starts relieving the load without severing the limb.
Keep the cut small and controlled; don’t deepen it rapidly. Watch the limb and kerf continuously as stored force releases. If the limb shifts unexpectedly or the cut becomes unpredictable, stop immediately and reassess from a safe position. Keep the guide-bar nose clear of the wood to reduce kickback risk throughout operation.
Step 4: Finish Cut From the Opposite Side
Once the tension-side relief cuts are complete, finish gradually from the opposite, compression side, taking small stages so the kerf closes without trapping the bar. Before you begin, confirm how the limb rests and where it may move; position yourself clear of its travel path. If it presses against the ground, start the finishing cut underneath; if it’s free, cut from the top.
Feed the saw steadily, removing a small amount at each stage. Keep the guide-bar nose clear of the wood whenever possible, because nose contact can trigger kickback. Stop if the limb shifts, the kerf begins to pinch, or tension releases unexpectedly. Don’t force the bar through resistance or reach across the limb to complete the cut. Maintain footing and control throughout.
Step 5: Assess the Kerf for Closure
Watch the kerf during a small test cut: if it narrows, the wood is closing on the compressed side and may pinch the bar; if it opens, tension is releasing, but the limb can still shift suddenly.
Before cutting, identify support and the compressed side; expect the kerf there to close. Make the test cut gradually and watch the wood move. If the kerf narrows, stop before the bar binds. Reassess support and tension before proceeding.
If it opens, continue gradually; tension is releasing, but the limb may still shift suddenly. If the kerf changes, pause and reassess. Don’t push the bar nose into the kerf to check closure; that can increase kickback risk. Keep the saw controlled; never force a binding bar through loaded wood.
Step 6: Stack Cut Wood Safely
Stack cut wood on stable, level supports so logs can’t roll or shift as their weight changes. Keep the pile low and orderly; don’t cut pieces trapped beneath unstable logs. Before each cut, locate the log’s support points and assess where compression and tension could close or open the kerf.
Plan your cut so the wood remains supported as the section separates, and keep your body clear of likely movement paths. If a supported log sags between two points, cut from the top until the kerf begins to pinch, then finish from underneath. On a slope, work uphill of the wood, never downhill where a rolling log could reach you. Keep wedges within reach to stabilize logs and help prevent rolling or saw pinching.
Inspect for Fiber Tearout
Inspect the limb’s surface and ends for cracks, splits, lifted bark, or fibers already pulling apart; these can signal tension and a risk of tearout.
Trace the limb’s curve and supports to locate its compressed side and stretched, tensioned side. Check for a sharp bend or existing split; either can release stored force suddenly when the cut advances. Keep your body clear of the movement path, and use small, controlled cuts while watching the fibers and kerf. Reassess after each cut. If the limb shifts, the split widens, or fibers begin tearing unexpectedly, stop cutting and reassess the support and load before proceeding.
Chain Brake Won’t Engage
If the chain brake won’t engage, stop using the saw; never cut a tensioned limb or rely on careful technique to offset a failed safety device.
Switch off the saw and follow the manufacturer’s instructions to inspect the brake, hand guard, and controls. Don’t bypass or modify the mechanism. Keep clear of the limb’s possible movement while the saw is disabled; releasing tension can shift wood suddenly or pinch the bar. Have a qualified service technician repair the brake, then confirm it works as specified before you return the saw to use. If the limb must be handled before repair, call a qualified professional with suitable equipment.
| What you see | Safe response |
|---|---|
| Brake lever stays loose | Stop work |
| Guard won’t move | Keep saw off |
| Limb shifts | Move clear |
| Repair pending | Call professional |
Sharpen Chain Afterward
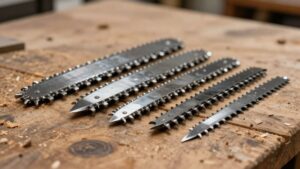
After cutting a limb under tension, check the chain for dull or damaged teeth, since stressed wood and pinching can strain the cutters. Before you resume work, secure the saw, shut it off, and let the chain cool; wear gloves while inspecting it.
If sharpening is needed, follow the manufacturer’s specifications for filing angle, depth-gauge setting, and cutter length. File each cutter evenly on both sides, maintaining angles and lengths, so the saw tracks straight instead of pulling. Check depth gauges; incorrect height can affect cutting action and increase risk.
Don’t use a chain with cracked, bent, or damaged cutters, or continue if you can’t sharpen it safely. Stop the saw and have the chain serviced or replace it before cutting again.
Conclusion
Before you cut, assess tension direction and confirm your escape path. Clear the springback zone, then position the saw on the pressure side. Make a shallow relief cut and support sections so stacked wood can’t shift or pinch the bar. After each cut, inspect for fiber tearout and stop if the limb moves unexpectedly. If the chain brake won’t engage, don’t operate the saw. Sharpen the chain afterward, and resume only when conditions are controlled.