How to Use a Chainsaw for Beginners: Stance, Grip and Your First Cuts
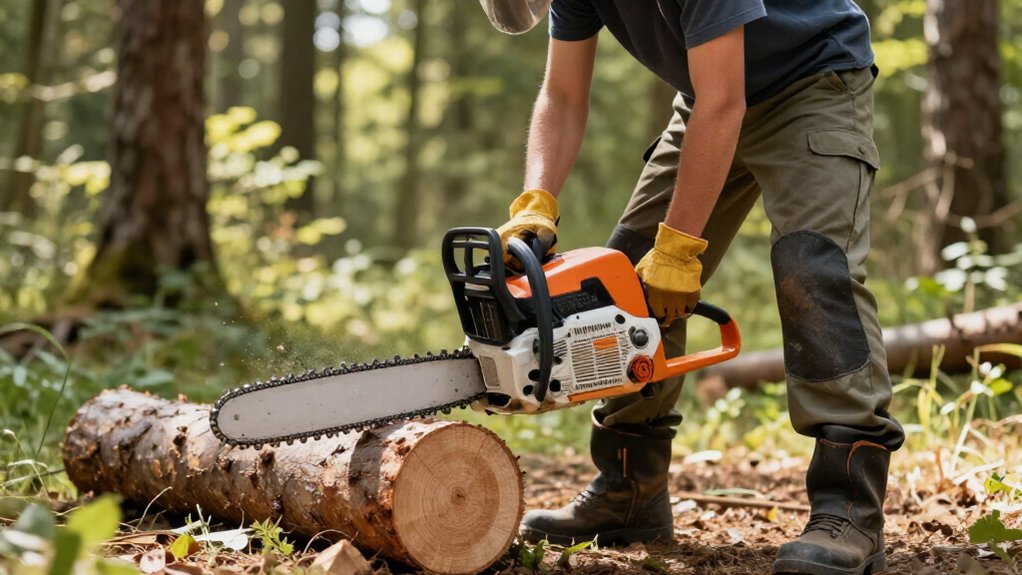
Before you start, secure firm, level footing, plan a clear escape route, and keep people clear.
Hold the front handle with your left hand and the rear handle with your right, keeping both hands on the saw. Keep it below shoulder height and the bar tip clear of the ground.
Check chain tension with the engine off. Practice on stable wood, making first cuts below waist height without forcing the chain.
More safety guidance follows.
Stance and Grip Basics
Start with stable, balanced footing and keep the saw close to your body; don’t lean or overreach. Plant your feet where they won’t slip, and set your stance before starting the cut. Grip the front handle firmly with your left hand, wrapping your thumb around it. Hold the rear handle with your right hand.
Keep both hands on the saw throughout the cut; never release a handle to guide the saw. Align the guide bar with the wood, and keep its tip clear of nearby objects. Work with the saw below shoulder height, using a position that lets you reach the cut without twisting or stretching. Don’t attempt awkward angles or cuts beyond your safe reach. If you need to move or adjust the saw, switch off the engine first; reposition yourself before resuming. Keep your balance and control at every moment, always.
Check Chain Tension
With your stance and grip set, check the chain tension before each use. Retension a new saw after its first couple of hours of operation, or after a long period of non-use. Before checking, switch off the engine and release the chain brake.
- Check that the chain sits snugly against the guide bar’s underside.
- Pull it around the bar by hand; it should move freely.
- If it sags or feels excessively tight, adjust it as your owner’s manual directs.
- Tighten the bar nuts, then recheck tension because tightening can change the chain’s position.
Keep the chain sharp and well-oiled too; proper maintenance supports safe, effective cutting. Follow the saw’s manual for adjustment steps and specified tension checks before starting any cut.
Step 1: Mark Your Escape Route
Before felling a tree, survey the area and plan a clear escape route with enough open space to retreat safely. Identify obstacles, people, pets, vehicles, and structures that could block your path. Choose a route that leads away from the tree’s expected fall direction, and make sure you can reach it without crossing hazards.
Plan this route before you make a cut, so you won’t need to decide under pressure. Clear branches, tools, and debris from the path; trip hazards can slow you or force you to look down while retreating. Leave open space to move and keep your attention on the falling tree. If overhead hazards or limited space prevent a retreat, don’t start felling. Ask a professional to assess the site instead.
Step 2: Inspect the Chain Brake
Check the chain brake before starting the saw to confirm it’s secure and free of damage or debris. Read your owner’s manual to learn how your model’s brake engages and releases; controls can differ. Before you start the engine, engage the brake as directed. Keep it engaged while the engine idles, and don’t release it during startup or idling.
Release the brake only when you’re ready to cut, with the saw held firmly in both hands. If the brake won’t engage or release correctly, stop. Don’t use the saw until a qualified service professional inspects it and corrects the fault. Don’t force the control or assume the brake works because it looks intact; its operation matters as much as its condition before use.
Step 3: Cut a Small Kerf
Once the chain brake works properly, practice on a small piece of wood resting on stable ground, where you can keep solid footing without leaning or reaching. Before cutting, hold the saw with both hands. Align the bar with your intended cut and keep its tip clear of the ground. Disengage the chain brake only when you’re ready to cut, then apply the throttle as your saw’s manual directs. Let a sharp, properly tensioned chain do the work; don’t force the bar into the wood.
Watch how the fibers move as the kerf opens. If the kerf starts closing or pinching the bar, stop the saw and reassess your setup carefully before continuing. Never push through a binding cut; resolve the cause first.
Step 4: Keep Cuts Below Waist
Keep every cut below waist height so you can control the saw without raising it toward your body. Hold the saw close, keep both hands on the handles, and maintain a balanced stance. Don’t lean or reach to get at low wood; an extended reach can reduce your control.
If you can’t reach a cut comfortably while keeping the saw below your waist, reposition the wood or ask someone qualified for help. Don’t angle the saw awkwardly to force access. Never cut above shoulder height. For higher limbs, use a pole saw or hire a professional instead of lifting a chainsaw overhead. As you cut, keep the guide-bar tip clear of the ground to prevent contact that could damage the chain or cause kickback.
Step 5: Reposition Your Feet Safely
Before you move your feet or change position, stop cutting and switch off the engine.
Check that the area where you need to step is clear of people, pets, and obstacles. Plant your feet on firm, level ground, then adjust your position in steps. Keep your balance; don’t pivot on an unstable foot, lean, or overreach.
Move until you can reach the work comfortably while keeping the saw close to your body and below shoulder height. Don’t carry or reposition the saw while its chain is moving. Once you’re settled, secure your stance and take a two-handed grip. Release the chain brake only when you’re ready to cut. If the ground shifts or your footing feels uncertain, stop and choose a position before continuing.
Step 6: Clear Sawdust From Bar
When sawdust builds up, switch off the chainsaw and wait for the chain to stop before cleaning. Keep your hands clear of the cutting chain; the engine being off doesn’t remove the risk of contact. Use a brush to remove sawdust and debris from the guide bar, around the chain, and from the bar groove. Clear the groove carefully so buildup won’t hinder chain movement.
Clean the guide-bar oil holes as well, allowing oil to reach the bar and chain. Don’t use your fingers to scrape debris from tight spaces, and don’t restart the saw while you’re cleaning.
Before you cut again, confirm that the chain is properly tensioned and lubricated. If debris remains lodged in the groove or oil holes, stop and clear it before operating the saw.
Check for Splintering
Watch the wood fibers and kerf as you cut; splitting, cracking, or fibers lifting ahead of the chain can signal splintering.
Ease off pressure as the cut nears the far side. The remaining fibers may tear and splinter, so keep your cut controlled and finish without forcing the bar. Keep the guide-bar tip clear of the ground and objects; contact can cause kickback and damage the cut. A sharp, tensioned chain helps slice fibers cleanly instead of tearing them. If the wood starts splitting unexpectedly, stop the saw and reassess its support and which way it’s under tension. Adjust the setup when you can do so safely. Don’t resume until the wood is stable and the cut path is clear.
Saw Jerks During Cutting
If the saw jerks, stop cutting, release the throttle, engage the chain brake, and reassess the wood and your footing before continuing. Wood may shift or compress, closing the kerf and binding the bar. Watch the cut; stop before the bar gets pinched.
Keep both hands on the handles, your feet balanced, and the guide-bar tip clear of objects. Don’t force the saw; apply steady pressure. If the bar’s pinched, switch off the engine before freeing it.
| What you notice | What you do |
|---|---|
| Kerf closing | Stop before pinching. |
| Bar pinched | Switch off engine first. |
| Repeated jerks | Stop and get help. |
If you can’t identify the cause, don’t resume; get experienced help. A firm grip and stable stance help prevent kickback and loss of control.
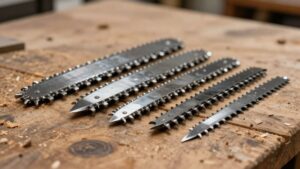
Sharpen Dull Chain Teeth
After stopping a saw that jerks, inspect the chain before cutting again; dull teeth make cutting harder and can tempt you to force the saw.
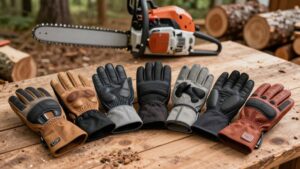
Before you inspect or sharpen it, switch off the saw, engage the chain brake, and put on protective gloves; cutters stay sharp even when they’re dull. Use the file and angle specified in your chainsaw’s manual. Sharpen each cutter evenly.
Check depth gauges as directed; incorrect height can affect cutting. Don’t force a dull chain through wood. If you’re unsure, ask a qualified service professional to sharpen it. Work with the saw secured and follow the manual’s sequence; don’t improvise settings or use a file that doesn’t match the chain or specified cutter type. Keep hands clear of cutters.
Conclusion
Before each cut, set your stance, grip the saw, and check chain tension and brake function. Mark a clear escape route, then make a small kerf with steady pressure; don’t force the bar. Clear sawdust only with the saw off. Watch for splintering or sudden jerks: stop, release the throttle, and reassess. If teeth are dull, sharpen or replace the chain before continuing.
You’ll work safely by slowing down and following these checks.