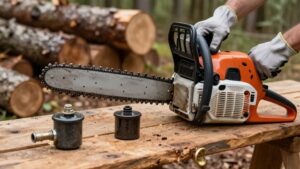
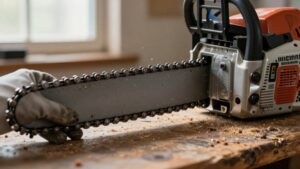
How to Replace a Chainsaw Chain and Set the Right Tension
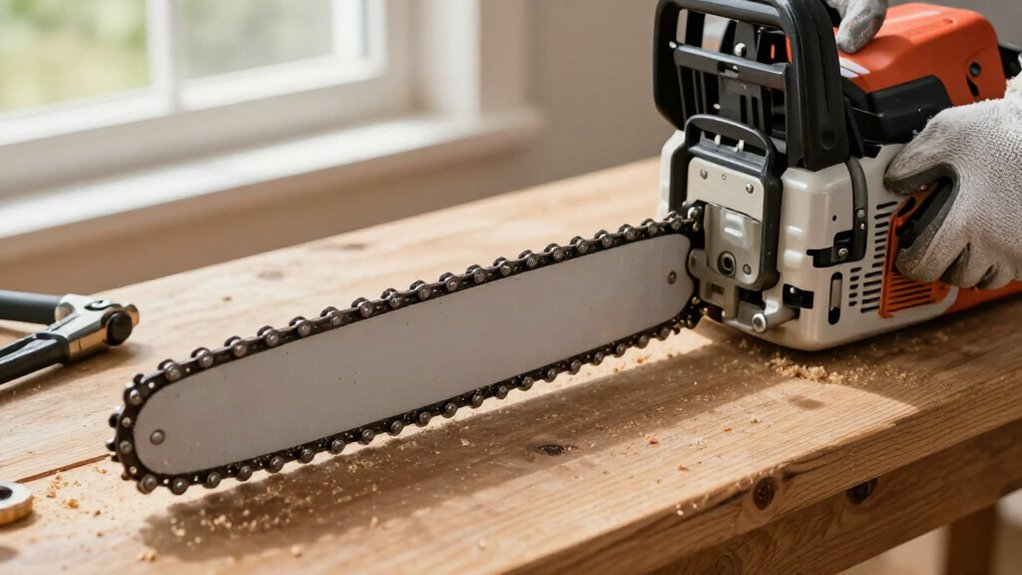
To replace your chainsaw chain, match its pitch, gauge, and drive-link count to the saw and bar. Switch off the saw, disconnect power, engage the brake, and wear cut-resistant gloves.
Loosen the cover, remove the chain, and inspect the sprocket for hooked or grooved teeth. Fit the chain in the bar groove with cutters facing forward, then set tension to the manual’s specification. Confirm it moves freely, lubricate it, and follow steps below for details.
Identify Your Chain Type
Before replacing the chain, check your chainsaw’s operator’s manual for the specified chain and compatible guide bar. Match the replacement chain to the bar’s required pitch, gauge, and drive-link count; these specifications must also suit your saw. Check the connecting-link arrows to determine the chain’s direction of rotation, and orient it accordingly during fitting.
Before handling the chain, wear cut-resistant gloves to reduce the risk of injury. Identify your saw’s chain-tensioning system before you begin: it may use Quick Chain Tensioning, side-mounted tensioning, or front chain tensioning. These systems use different fitting steps, so follow the procedure specified for your model. Don’t assume that a chain with the correct length will fit; verify all three dimensions and the chain’s compatibility with the bar and saw.
Check the Chain Brake
With the saw switched off and secured, engage the chain brake before removing or fitting the chain. Keep it engaged while you prepare the saw. Before fitting the bar and chain, release the brake so you can position both parts correctly. To release it, pull the brake handle back toward you until it clicks.
After assembly, test the brake before starting work: engage and release it, confirming each action feels normal. A failed brake can leave the chain moving unexpectedly during handling.
- Keep the saw switched off and secured throughout chain removal and fitting.
- Leave the brake engaged during preparation.
- Release it only when you need to position the bar and chain.
- Pull the handle back until it clicks to disengage the brake.
- If it malfunctions, don’t use the saw; consult the manual or a qualified service professional.
Step 1: Wear Cut-Resistant Gloves
Once the chain brake is set as directed, put on robust cut-resistant work gloves before handling the chain. Choose gloves rated for cut resistance whenever you remove or replace the chain; ordinary work gloves may not provide comparable protection. Keep them on as you guide each drive link into the bar groove and seat the chain on the sprocket.
Use a gloved hand to pull the chain along the bar, checking that it travels freely without binding. Don’t use bare fingers to position or test the chain, even when the saw is switched off.
Cut-resistant gloves reduce your risk of lacerations, but they don’t make a moving chain safe to touch. Never contact a chain while it’s moving; confirm it has stopped before inspection.
Step 2: Loosen the Bar Nuts
To prevent accidental starting, switch off the saw and disconnect its power source: remove the battery from a cordless model, unplug an electric saw, or switch off a petrol engine.
Apply the chain brake before touching sprocket-cover fasteners. Use an appropriate socket tool to loosen the fixing nuts gradually, just enough to release the cover. If your saw has a quick-tension system, fold out the wingnut handle and turn the wingnut anticlockwise. Keep the bar assembly supported while you work; it can shift as the fasteners loosen.
Keep your hands clear of the chain and cutting edges. Use controlled pressure, and don’t force a nut that resists. Confirm you’re using the correct tool for your model, and consult your owner’s manual if the fastener arrangement isn’t clear. Designs vary, so follow the manufacturer’s instructions for your specific saw.
Step 3: Remove the Old Chain
Before removing the old chain, switch off the saw and prevent accidental starting by removing the battery, unplugging it, or switching off the petrol engine.
Apply the chain brake and put on robust, cut-resistant gloves; the cutters can cause severe injuries. Use the combination tool to loosen the sprocket-cover nut or nuts, or turn the quick-tensioning wingnut anticlockwise. Remove the cover and set it aside.
Release the chain brake as your saw’s instructions direct, using the procedure for your model. Turn the tensioning screw anticlockwise until the tensioner slide reaches its fully left position. Lift the chain from the sprocket, then guide it away from the bar. Keep your gloved hands clear of the sharp cutters throughout removal, and handle the loose chain carefully.
Step 4: Install Replacement Chain
With the old chain removed, keep the saw switched off and prevent accidental starting by removing its battery, unplugging it, or switching off the petrol engine; then apply the chain brake and wear cut-resistant gloves. A replacement chain specified for your saw and guide bar is essential. Remove the sprocket cover.
If needed, move the tensioner fully toward the rear of the bar before fitting the chain. Starting at the bar nose, seat the chain in the guide-bar groove. Follow the connecting-link arrows to match the saw’s direction of rotation. Fit the drive links onto the sprocket.
Refit the sprocket cover and hand-tighten its nut or wingnut. Make sure the cover sits flush, then secure its fastener firmly according to the manufacturer’s instructions now.
Step 5: Check Chain Sag
Check chain sag only after switching off the saw, letting the chain cool, and putting on robust gloves. Midway along the bar, inspect the chain beneath it. It should sit close to the underside, with a 1 to 2 mm gap if your saw’s instructions specify that clearance. Confirm the drive links remain fully seated in the bar groove and the tie straps lightly touch the guide-bar rails.
With a gloved hand, pull the chain along the bar. It should feel snug but move freely; don’t force it. For a snap test, pull the chain down until one or two drive links leave the rails, then release it. The chain should snap back into place. If it fails to return, stop and adjust tension before operating.
Step 6: Top Up Chain Oil
Keep the chain and guide bar lubricated and cool by using high-quality chainsaw chain oil, which also reduces wear and extends their service life.
Top up the oil tank whenever you refuel a petrol saw. On cordless and electric models, check the level regularly and refill as needed. If your saw has a tank window, use it to check the level before topping up.
Set the saw on a level surface with the oil-tank cap facing upward. Wipe dirt from around the cap with a damp cloth before opening it, so contaminants don’t enter the tank.
Turn a screw-on cap anticlockwise to remove it. Add oil carefully without spilling or filling the tank to the brim. Replace the cap and tighten it clockwise securely.
Check Smooth Chain Movement
Check Smooth Chain Movement
After topping up the chain oil, verify that the chain moves smoothly along the bar. With the saw switched off and the chain brake released, wear a gloved hand and carefully pull the chain along the guide bar several times. The chain should sit snugly against the bar while moving freely, without binding.
Watch the drive links as you pull; they must remain fully seated in the bar groove. If the chain sticks, loosen tension slightly and test it again. If it sags or lifts away from the bar, adjust tension tighter. Once movement feels correct, tighten the bar nuts securely, then repeat the movement check because securing the nuts can change tension. Keep your fingers clear of the cutting edges throughout the check.
Chain Brake Won’t Release
Before fitting the chain, switch off the saw, prevent accidental starting, and apply the chain brake. Keep your hands clear of the chain, and wear robust, cut-resistant gloves throughout replacement.
To release the brake, pull its handle backward toward you until it clicks. If it won’t release, don’t force the chain or continue assembly. Check your operator’s manual for your model’s release procedure.
On quick-tensioning models, release the brake before fitting the guide bar to the tensioning gear. Never resume until release works.
| Stage | Required action |
|---|---|
| Before fitting | Switch off; prevent accidental starting |
| Release | Pull handle backward until it clicks |
| If stuck | Consult your model’s operator manual |
| Quick-tensioning | Release brake before fitting bar to gear |
Inspect the Drive Sprocket
Once the chain brake is released, inspect the drive sprocket before fitting the new chain. Switch off the saw and disconnect its power source or remove the battery before you inspect it. Examine every tooth for wear, damage, or uneven height. Look closely for grooves and hooked edges; these defects can wear your replacement chain quickly and prevent it from tracking correctly.
If you find a worn sprocket, replace it before installing the chain. Don’t fit a new chain over a sprocket with grooves or hooked teeth. Consult your chainsaw manual to confirm the correct sprocket and follow its specified replacement procedure. Keep the sprocket clean and free of sawdust, oil buildup, and other debris before you install the chain, before you resume cutting.
Conclusion
Replacing a chainsaw chain safely means matching the correct chain, disengaging the brake, wearing cut-resistant gloves, and following your saw’s manual. After fitting the chain, top up bar oil and adjust tension until the drive links stay seated while the chain still moves freely by hand with the brake released.
Inspect the drive sprocket, then retighten the bar nuts. If the brake won’t release or movement feels rough, stop and resolve the fault before starting the saw.