How to Use an Alaskan Chainsaw Mill to Turn Logs Into Lumber
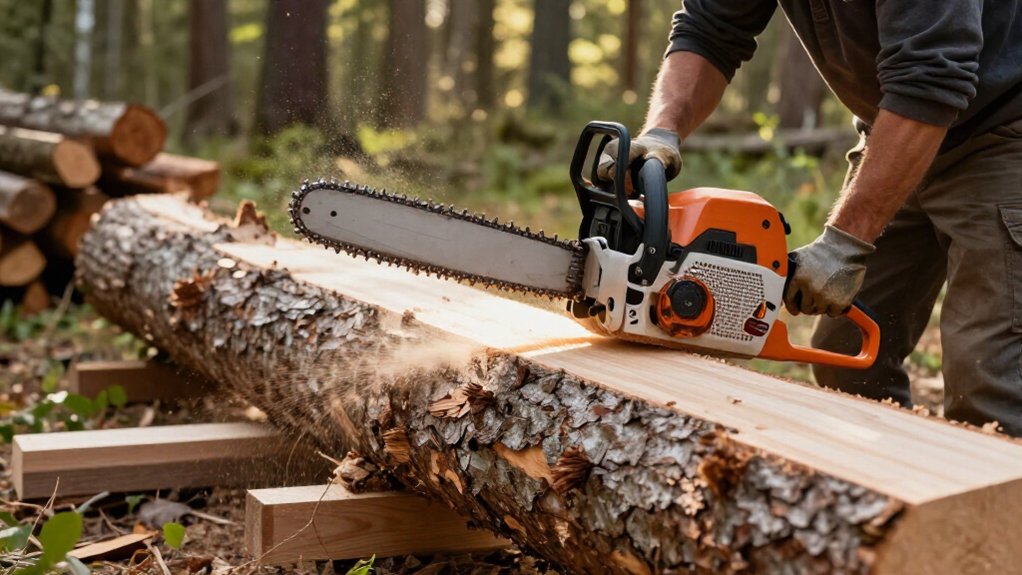
To turn logs into lumber with an Alaskan chainsaw mill, choose a compatible ripping chain and verify your bar and log fit the mill. Clear and brace the area, mark a reference line, and secure level rails past the log ends.
Set cutting depth with clearance beneath rail bolts, then cut a flat starter slab steadily.
Wedge the kerf to prevent pinching, check for scoring between passes, and seal fresh ends. Continue for practical ways to refine each cut.
Choose a Ripping Chain
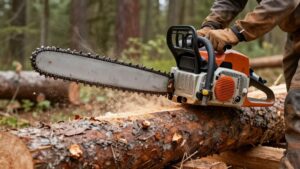
For milling, use a ripping chain designed to cut along the wood grain; it cuts faster and more smoothly than a standard crosscut chain.
Select a chain compatible with your saw and Alaskan mill, and follow both manufacturers’ setup guidance. Keep its cutters sharp with a hand file; dull teeth increase effort and can leave a surface. Carry a chainsaw wrench so you can make adjustments or replace the chain when needed.
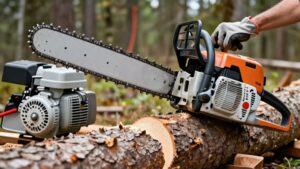
During milling, monitor lubrication, particularly with a long bar. Insufficient oil can overheat bar and chain, accelerating wear and risking damage. A ripping chain can help a powerhead such as the Husqvarna 357XP drive the mill, but don’t assume a feed rate: cutting speed depends on your saw and the log.
Verify Guide Bar Length
Before choosing a guide bar, check your chainsaw manufacturer’s guidance and confirm the bar is compatible with both the saw and mill.
Choose bar length to span the log while matching the mill’s capacity. The mill must clamp securely and leave the tip sprocket clear; contact can damage equipment or bind the chain. A 36-inch bar works in one setup, while another uses a new 20-inch bar, but neither size fits every log or mill.
- Measure the log’s width and verify usable cutting length, not just the bar’s stated length.
- Check mill specifications for supported bar lengths and required tip clearance.
- Monitor bar oil closely: longer bars need more lubrication, and low oil can overheat the bar and chain.
After each cut, refill fuel and bar oil in the 36-inch setup.
Step 1: Mark a Straight Reference Line
To keep the first cut straight, mark a reference line along the log to guide the slabbing rails.
Account for the log’s taper as you lay out the line. Decide whether to avoid knots and grain features or place them to highlight their appearance. Check the path for branches or lumps that could obstruct the rails or mill.
Extend the rails beyond both ends of the log, then align them with your reference line. This overhang supports the mill as you start and finish the cut, preventing unsupported travel at either end. Level the rails and secure them so they can’t shift during milling. Recheck alignment after tightening fasteners, since movement can pull the guide off your path. Mark the line where it’s easy to see.
Step 2: Set the Milling Depth
With the rails aligned, set the mill’s depth guides to control slab thickness; about 2½ inches is common. Before each pass, adjust the guides to the planned thickness and verify they match. For the initial setting, position the chain path below the slabbing-rail bolts; leave clearance so the chain can’t contact them. Check clearance along the full cutting path.
After that pass, remove the rails and use the flattened face as your reference for the next board. Set the guides to the desired depth below that surface. If you’re squaring the log, align the mill to its flat faces before choosing board thickness. Allow extra stock for resawing and planing; pine framing boards intended to finish at 1¾ inches need to start thicker.
Step 3: Cut a Flat Starter Slab
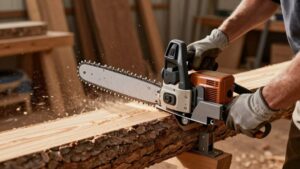
Once the rails are level and secure, guide the mill steadily along them to cut the first flat surface.
Before cutting, fasten two straight, level 2×4s or 2×6s to the log with mill rails or brackets. Extend both rails beyond each end so the mill remains supported for the full cut. Recheck level and tighten any loose fasteners. Examine the log’s taper and remove or account for bumps that could obstruct the mill. Set the cutting depth below the rail fasteners, as established during depth setup. As the kerf opens, place small wedges behind the saw when needed to prevent the cut from closing and pinching the bar or chain. After completing the pass, remove the rails and lift away the starter slab. The resulting flat face gives you a stable reference surface for subsequent milling passes, for accurate alignment on later cuts.
Step 4: Feed the Mill Steadily
The flat starter face gives the mill a stable path for the next cut. Set the mill on the guide rails or flat surface, then feed it forward with steady pressure.
Keep the cut aligned; don’t force the saw. Let the ripping chain do the work. A consistent pace helps the chain cut smoothly, while excessive pressure can bog down the powerhead.
Once the kerf extends a couple of feet, insert a small wedge behind the bar to hold the cut open and keep the slab’s weight from pinching the chain. Monitor fuel and bar oil during milling; long cuts place sustained demands on both.
Keep the mill supported through the cut’s end. Extend guide rails beyond the log so the mill travels steadily as it enters and exits the wood.
Step 5: Measure Slab Thickness Variation
After removing a slab, measure its thickness at several points along the length and width; an uneven log or mill setup can cause variation. Check both edges and the center with a tape measure or calipers, then compare each reading with your target thickness. For consistent cuts, use the freshly cut face to set the mill’s depth, and verify that setting before every pass.
Record the thickest and thinnest readings; the difference shows whether you need to flatten the slab further or can use it as cut. At the log ends, the bar’s limited reach can leave a slight butt-end ridge, which you may need to trim after removing the slab. This comparison helps you decide whether the variation is acceptable for the intended use.
Step 6: Clear the Work Area
Choose a stable, open area where you can position the log and operate the mill without obstacles. Because an Alaskan mill is portable, you’ll work near the fallen tree rather than move the log. Remove branches and raised bumps that could catch the guide rails or interfere with the mill’s travel. Leave clear space beyond both ends of the log so the rails and saw can pass the cut safely.
Set aside room for wedges, tools, and slabs as they come off. Brace the log before cutting, and clear debris that could trip you or obstruct handling. Keep tools within reach, but don’t place them in the rails’ or saw’s travel path. Leave room to move around the log and control the mill.
Inspect for Chain Scoring
As you mill, inspect each fresh face for parallel grooves or scratches that show the chain is scoring the wood. Look for marks that recur along the cut; repeated scoring often points to a dull or damaged chain, or debris lodged in the cutters. Stop the saw before examining the chain. Check each cutter for sharpness and damage, then verify proper tension.
Clear debris from the ripping chain and keep it sharp. Before restarting, confirm the mill and bar are aligned.
If scoring continues after you correct the chain, recheck the mill’s setup and inspect the bar for damage. Make another cut only after you’ve identified and corrected the cause. Compare the next milled face with the previous one; clean, even cuts indicate improvement.
Prevent Bar Pinching
To prevent the kerf from closing around the bar, insert a small wedge behind the saw once the cut is underway, keeping it clear of the bar and chain.
On the seven-foot pine log, you added a wedge after a couple of feet of cutting to keep the heavy slab from pinching the saw.
| Sign | Cause | Response |
|---|---|---|
| Kerf narrows | Log weight shifts | Insert wedge |
| Slab sags | Heavy section | Plan support |
| Wedge position | Behind mill | Clear of chain |
Keep wedges positioned behind the mill as the cut advances, and watch the kerf when the log’s weight shifts. A closing cut can trap the bar and stop saw. Plan handling for thick, heavy slabs; sagging can press them onto bar and raise pinching risk.
Seal Freshly Milled Slabs
Once the slab is free of the bar, seal its freshly milled ends before they lose moisture rapidly. Use a brush to coat both ends with waxy log-end sealer, covering the exposed end grain evenly. Apply it soon after milling, while the surfaces are still fresh. This coating slows moisture loss at the ends and helps prevent end checks and cracks as the slab dries.
Conclusion
Before you finish, inspect each slab for chain scoring and check that the bar stayed straight. Keep the work area clear, secure the log, and prevent pinching by supporting the cut as it opens. Seal fresh surfaces promptly to limit moisture loss and checking.
With a ripping chain, correctly sized bar, straight reference line, and consistent depth, you can mill safely and produce usable lumber from your logs. Take your time; accuracy beats speed.