Firewood Processing Tools Checklist: From Felling to Stacking
Firewood Processing Tools Checklist: From Felling to Stacking
Your toolkit covers every stage: use loppers, a brush axe, and a chainsaw with wedges to clear and fell; mark lengths, then buck with a tensioned saw.
Roll logs with a cant hook or peavey, and move rounds with tongs. Split with a 6 to 8 lb maul, wedge, and chopping block, or use a log splitter.
Stack on supports, leave sides open, and cover the top. Keep tools inspected and dry; the checklist ahead explains your options.
Felling-to-Stacking Tool Sequence
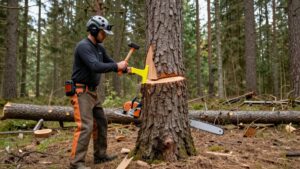
Start by clearing hazards, planning an escape route, and felling the tree with a properly sized chainsaw and felling wedges; wear a helmet, eye and hearing protection, gloves, and chainsaw chaps.
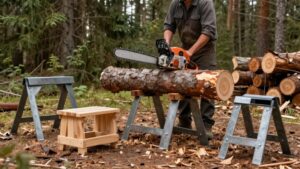
After the tree is down, mark manageable lengths, typically 16 to 20 inches, with a logger’s tape or automatic marker, then buck each log with a sharp chainsaw. Roll logs with a cant hook; use a peavey to pry or leverage them across rough ground. Lift and transport rounds with logging tongs or a carrier.
Keep your footing stable, and never work beneath suspended logs. Split rounds along the grain with a maul and wedge, or use a log splitter. For higher-volume work, a firewood processor can position, cut, and hydraulically split wood in one operation. Stack split wood on pallets or runners, loosely in a single row with open sides and a rain-covering top. Allow 6 to 12 months for seasoning.
Firewood Tool Checklist
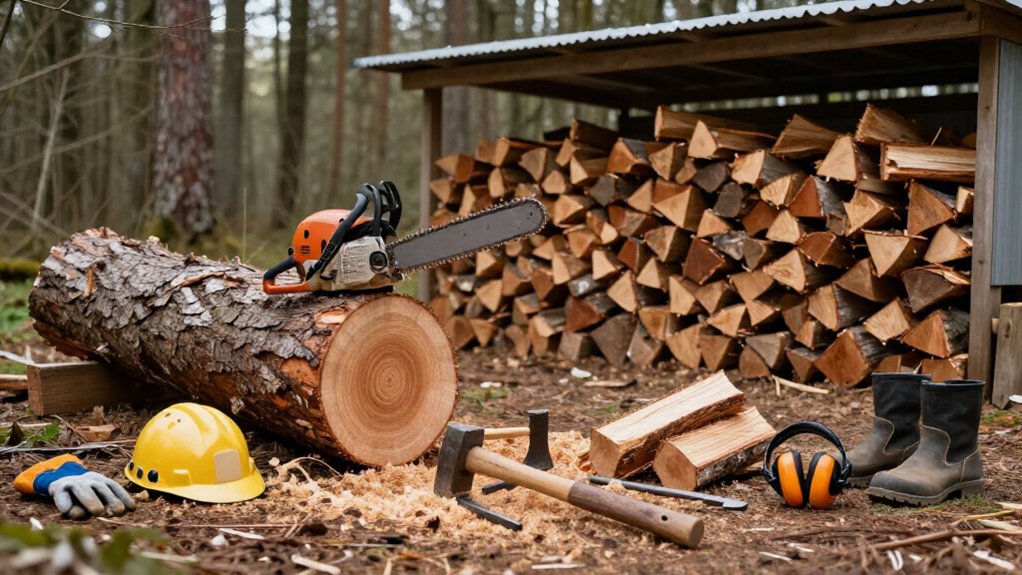
A well-chosen tool kit covers each stage of firewood processing without adding unnecessary gear. For 1 to 2 cords yearly, choose a mid-range chainsaw with a 16 to 18-inch bar; carry wedges, logger’s tape, and marking tools. Before felling, clear trip hazards and plan an escape route before starting. Use loppers, bow saw, or billhook according to growth size. Roll logs with a cant hook; use a peavey for stuck timber, and tongs or a pickaroon to handle rounds. Cut rounds to firebox length, commonly 16 to 20 inches, then split with a maul and wedge or use a splitter. Raise stacks on runners; leave a loose single row, cover the top, and keep sides open.
| Stage | Core tools | Check |
|---|---|---|
| Cut | Saw, wedges, tape | Escape route |
| Split/stack | Maul, rack | Airflow |
Green vs. Seasoned Wood
Although green wood may look ready to burn, it can contain up to 100% moisture by weight, making it harder to ignite and burn efficiently. Don’t judge readiness by color or bark: you need to season firewood for at least six months. Depending on species and climate, drying often takes six to twelve months.
Aim for about 20% moisture content, and check with a moisture meter; it’s more reliable than appearance alone. Seasoned wood often feels lighter, shows hairline cracks at the ends, and makes a higher-pitched sound when you knock two pieces together.
To promote drying, stack wood off the ground in one loose row. Cover only the top and leave the sides open for airflow. This helps you avoid inefficient, smoky fires.
Tool Specifications by Task
Choose felling and bucking tools to match your workload and log size, and verify that chainsaw bar length suits the timber. For limbing, splitting, and log handling, select tools sized to the branches, rounds, and leverage you need. Use accurate measuring and marking tools to keep cuts consistent, and handle every tool with appropriate protective equipment.
Felling Tool Specifications
Match each felling tool to the cut and the wood size. Choose a felling axe when you’ll make powerful swings on larger trees; its heavy head and long handle deliver the leverage those cuts demand. For hand bucking, use a bow saw on small- to medium-sized logs, or a crosscut saw for larger logs. Its tooth design clears sawdust from the kerf, helping maintain cutting progress.
Set a felling wedge to help direct the tree’s fall, and reduce the chance that your chainsaw bar binds during the cut. Before you start, wear a hard hat, eye and hearing protection, gloves, and chainsaw chaps. Clear the work area, then confirm your escape route is open and unobstructed. Inspect tools for damage and secure footing.
Limbing Tool Specifications
After felling a tree, use a limbing axe to strip branches before bucking the trunk into firewood lengths. Choose long-handled loppers with bypass or anvil jaws for lower branches and brush up to about two inches in diameter. Use pruning shears for small twigs, fine foliage, and other light growth. For thick brush, tangled vines, and small saplings, select a machete, brush axe, or billhook with a long swinging blade.
Match each tool to the material, and don’t force light cutters through heavy growth.
Before limbing, clear undergrowth and tripping hazards. Confirm secure footing and an unobstructed retreat path before a swing. Keep bystanders outside the blade’s reach and control each stroke. Inspect handles and cutting edges before use; stop if footing shifts or visibility drops.
Bucking Saw Specifications
For bucking firewood, size the chainsaw bar to the log diameter and workload: a mid-range saw with a 16 to 18-inch bar generally suits homeowners cutting 1 to 2 cords per year, while frequent, demanding work calls for a professional-grade saw with a 20 to 28-inch bar.
Choose a bar that clears the log without forcing the saw; use proper stance, chain brake, and required protective gear. Buck rounds to consistent 16 to 20-inch lengths, measuring each with a logger’s tape or automatic log marker. Keep the chain sharp and the saw clean, and inspect them before work; sound maintenance supports efficient cuts and reduces avoidable risk.
If a fallen log could pinch the bar, cut halfway through each round, roll the log, then finish from the opposite side. This method also helps keep the chain out of the ground. Don’t cut above shoulder height, and maintain a clear escape route as the log shifts. Follow the saw maker’s operating instructions and stop if the timber moves unpredictably or if footing becomes unstable.
Splitting Tool Specifications
Once bucked rounds are ready, choose a 6–8 lb splitting maul for large pieces; its wedge-shaped head and blunt driving face split wood along the grain. For oversized, dense, or stubborn rounds that resist the maul, use a steel splitting wedge and sledgehammer. Aim each strike toward the center and along the grain.
Inspect the face first: hairline cracks may reveal an easier splitting line, while knots and branches often resist separation. Set each round firmly on a low, stable chopping block, wear eye protection against flying debris, and keep both hands on the tool. If the maul sticks, don’t swing it; use the round’s weight carefully to finish the split. Maintain a stance and clear people from the area before you begin.
Stacking Tool Specifications
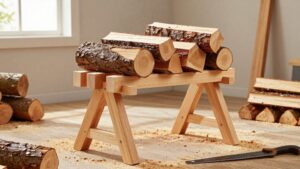
To stack firewood safely, place a sturdy rack or stable supports on level, well-drained ground, and elevate split wood on treated 2-by-4 runners or pallets to limit ground moisture and rot. Before loading, verify supports won’t shift. Arrange pieces loosely in a single row; leave sides exposed to keep air moving through the stack.
Don’t build higher than you can place logs securely, and keep the pile clear of walkways and ignition sources. Cover only the top with a tarp or rain shelter, fastening it against wind without sealing the sides. This lets rain run off while moisture escapes. Allow six to twelve months for seasoning, adjusting the period for wood type and climate. Inspect the stack periodically, and restack any leaning sections promptly.
Matching Bar Length to Diameter
Match your chainsaw bar to the logs’ typical diameter: it should reach through the wood in one pass or let you cut safely from both sides. Choose a bar that suits the wood you actually process, not the largest log you might encounter. For roughly one to two cords yearly, a mid-range saw with a 16–18-inch bar generally provides adequate reach and control.
For heavier workloads, a professional-grade saw with a 20–28-inch bar can cut larger logs faster and more cleanly. Don’t assume a longer bar makes an undersized saw capable of handling oversized wood; match engine and bar capacity to the task. Keep the chain sharp, follow manufacturer guidance carefully, and use controlled technique; don’t force cuts beyond your saw’s capacity, as specified.
Wet-Weather Tool Storage
After wet-weather work, move tools to a dry, sheltered place to limit rust and prevent prolonged moisture from damaging wooden handles. Wipe mud, sap, and bark residue from metal surfaces, then dry each tool fully before storage. Inspect hooks, spikes, and other moving parts for wear or bending; lubricate joints to keep them operating smoothly.
Keep your equipment together on a shelf rack or in a wall-hung bag. This makes tools easier to find and less likely to remain exposed outdoors. If you also store firewood outside, cover only the pile’s top with a tarp, leaving the sides open for airflow. This sheds rain without trapping moisture around the wood. Wear gloves around sharp edges, and cover cutting surfaces during storage to reduce accidental contact.
Clearing Brush Around a Felling Zone
Before felling, clear brush, vines, and small saplings from the tree’s base, work area, and escape routes. Remove growth that could block your cuts or compromise footing. Use loppers or pruning shears on small stems; choose a brush axe, billhook, or machete for thicker brush and tangled vines. Work deliberately, keeping the cutting area visible and clear rather than reaching blindly through dense growth.
Before starting the felling cut, identify escape routes and clear them of brush, loose branches, and other tripping hazards. Plan a retreat path that lets you move promptly when the tree begins to fall; don’t leave tools or debris in your way. Wear eye protection, gloves, and sturdy footwear while clearing. Check the ground underfoot as you work, and stop if vegetation or terrain prevents secure footing. A clean zone supports controlled work and a safer retreat.
Chainsaw Chain Tension Problems
Check chain tension before each cutting session and periodically during use, because heat can cause the chain to loosen. Correct tension keeps the chain snug against the guide bar while allowing you to pull it around by hand with a gloved hand; drive links must stay engaged in the bar groove.
- A loose chain can sag, derail, or damage the bar.
- Excessive tightness raises friction, wear, and strain on the saw.
- Switch off the saw and engage the chain brake before adjustment.
- Follow the manual: loosen bar nuts, turn the tension screw, then retighten nuts.
- Recheck tension after tightening and before restarting; keep the chain sharp for efficient, controlled cutting.
If it won’t move by hand, ease tension; restart when the chain travels freely.
Tool Inspection Before Felling
Proper chain tension is only one part of felling readiness; inspect your tools and work area before cutting.
- Check that your chainsaw chain is sharp and properly tensioned, the bar is secure, and controls operate as intended.
- Examine felling wedges for cracks or other damage; keep them ready to prevent binding and help guide the tree’s fall.
- Confirm cutting-tool handles are secure, heads are sound, and edges are sharp; replace damaged tools or handles.
- Inspect your hard hat, eye and hearing protection, gloves, and chainsaw chaps; replace damaged PPE.
- Clear tripping hazards and undergrowth, then confirm your footing and escape routes remain unobstructed.
If any component fails inspection, stop and repair or replace it before felling. Recheck the area if conditions change before felling.
Conclusion
Build your firewood workflow around the task sequence: clear the felling zone, inspect each tool, fell and buck the tree, split the rounds, and stack the wood for seasoning. Match chainsaw bar length to the wood’s diameter, and check chain tension before cutting. Choose tools suited to green or seasoned wood, and store them dry after wet-weather use. When you follow these checks, you’ll reduce avoidable hazards, protect your equipment, and process firewood more efficiently.